Contact Centre
Vonage Reveals Revenue Decline, Cuts Back On Its Global Operations
CRM
Informatica Co-Founder: The Salesforce Acquisition Is “a Bad Idea”
Microsoft Dynamics Products Will Cost Up to 16.7% More from October
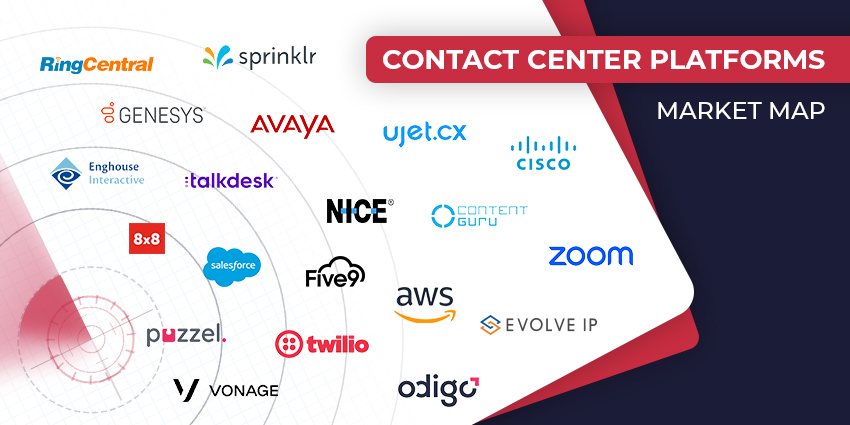
The Top Contact Center Vendors to Consider in 2024
Big CX News From Salesforce, Microsoft, Zendesk, & Vonage
Speech Analytics
The Conversational AI Blueprint: A Cautious Approach to Contact Center Bots
Zendesk Announces Anthropic and AWS Collaborations – Targets AI Improvements
Avaya Is Set to Exceed Revenue Forecasts as Its Enterprise Retention Rates Hold Firm
CX TV
Customer Contact Week 2024: What to Expect from the World’s Largest Customer Contact Event
The Google-HubSpot Acquisition Rumors: Could It Really Happen?
Klarna’s Bot Does the Work of 700 Full-Time Contact Center Agents. Could Yours?
BIG CX News – Enterprise Connect 2024: The Roundup ft. Five9, Cisco, Salesforce & More
Content Guru Confirms $150MN CCaaS Megadeal, the Biggest of 2023